Audio Player
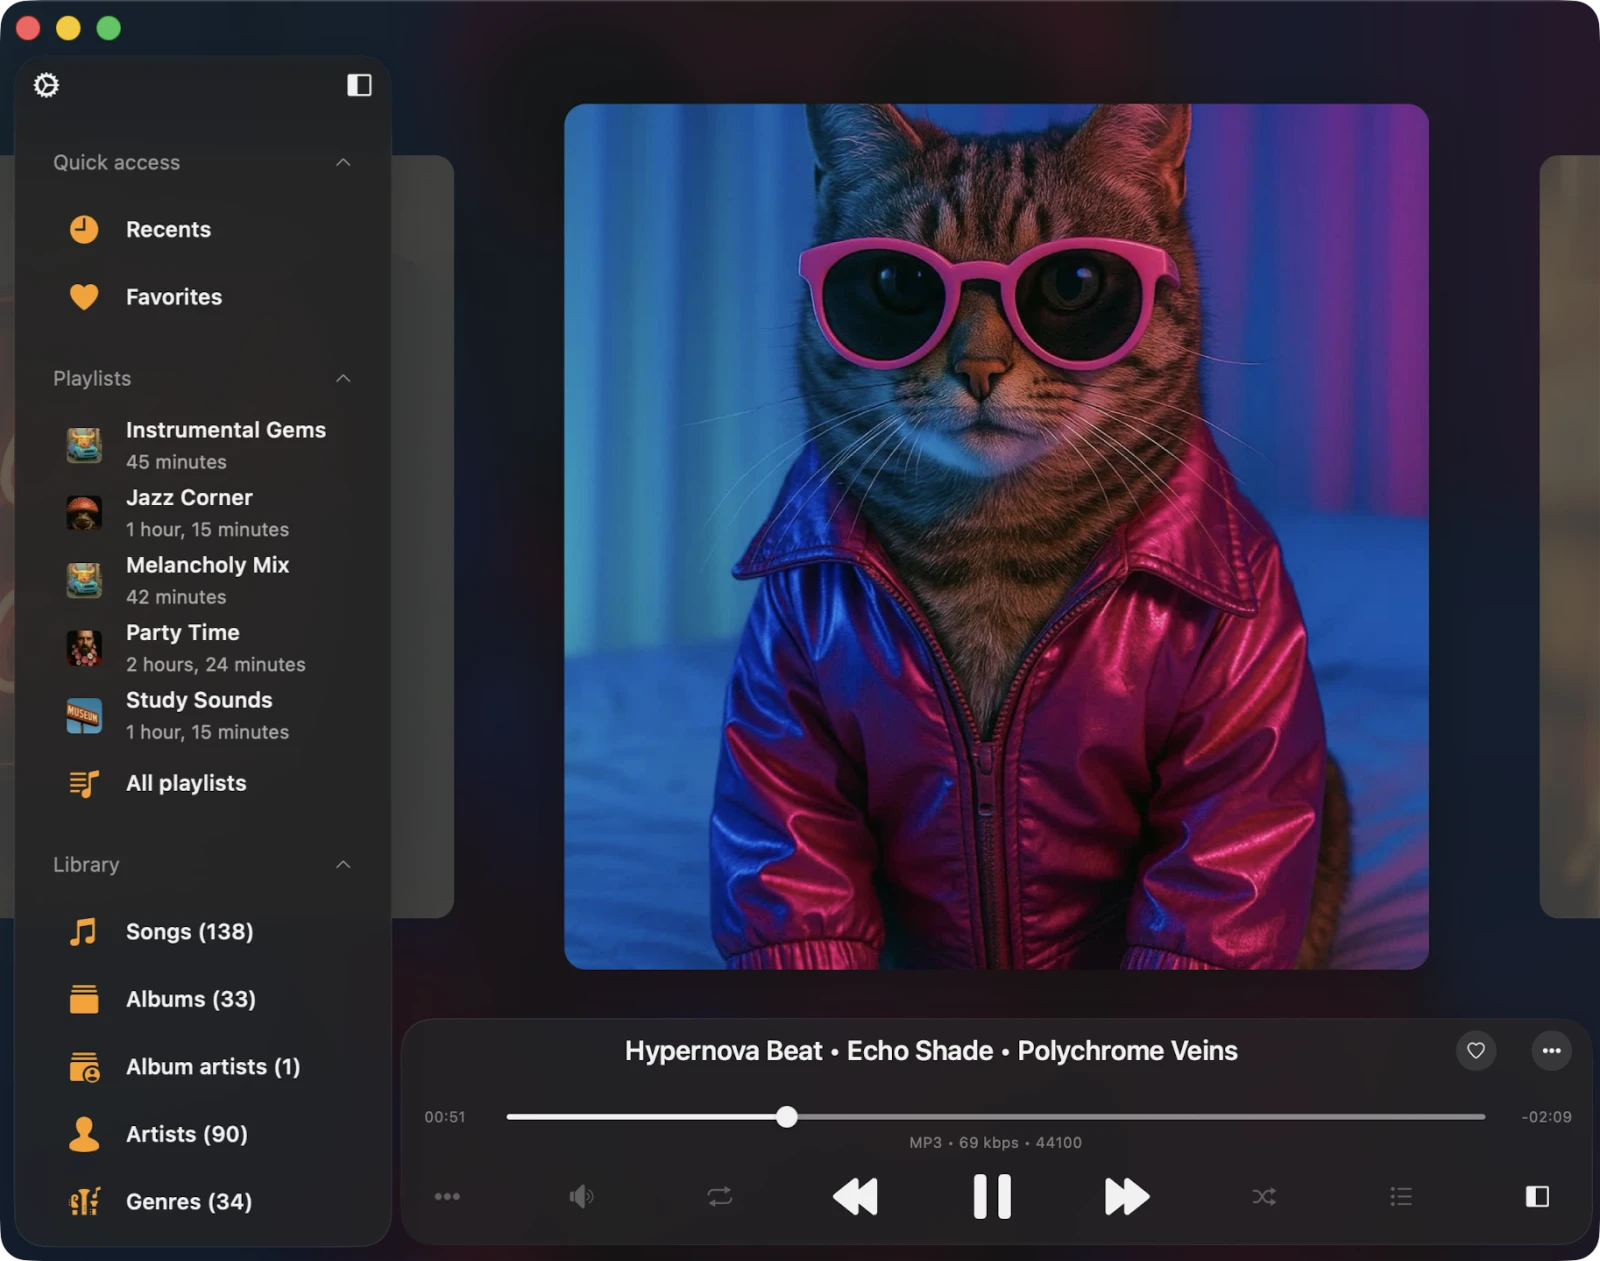
The Audio Player is the main screen of the app where you control the music and most playback features. It’s also where Flacbox’s hi-res audio engine — built on the system codecs plus the bundled FFmpeg library — does the heavy lifting. Let’s explore how to use it.
Accessing the Audio Player
You can get to the full-screen player from the mini player bar. On iPhone, the mini player sits at the bottom of the main screen. On iPad and Mac, it’s on the left side. To hide the mini player on iPhone, tap it once and swipe down. To fully close the full-screen player, tap the close button in the bottom-right corner.
Supported Audio Formats
Flacbox plays the most popular audio formats — both Apple’s system codecs and many additional formats handled by the bundled FFmpeg engine:
3g2, 3gp, 3gp2, 3gpp, 8svx, aa, aac, aax, ac3, act, adt, adts, aif, aifc, aiff, alac, amr, amv, ape, asf, au, avi, awb, caf, cavs, cdda, cue, dct, dff, drc, dsf, dss, dvf, dvr-ms, ec3, f4a, f4b, f4p, f4v, flac, flv, gif, gifv, gsm, gxf, h261, h263, h264, ifv, iklax, ivf, ivs, l16, latm, loas, m2t, m2ts, m2v, m3u, m3u8, m4a, m4b, m4p, m4r, m4v, mka, mkv, mmf, mng, mod, mogg, mov, mp1, mp2, mp3, mp4, mp4v, mpa, mpc, mpe, mpeg, mpg, mpv, msv, mts, mxf, nsf, nsv, nut, oga, ogg, ogv, opus, pcm, pls, qt, ra, raw, rm, rmvb, roq, rv, sln, snd, svi, tod, tta, vob, voc, vox, vtt, w64, wav, wave, webm, wma, wmv, wv, xhe, xmv, y4m, yuv.
That covers virtually every modern lossy and lossless format you’re likely to have in a personal music collection.
Playback Controls
At the bottom of the player screen, you’ll see buttons for Play, Pause, Next Track, and Previous Track. There are also optional buttons like Next 30 sec and Previous 30 sec that you can enable in the app settings (handy for audiobooks). You can fast-forward or rewind by holding down the Next / Previous buttons. To jump to a specific part of a track, drag the playback slider.
Repeat and Shuffle
Tap the repeat button to cycle through repeat modes:
- Repeat All — loops all tracks in your queue.
- Repeat One — repeats just the current track.
- Repeat Stop — pauses when the current track ends.
- Repeat None — plays the queue once through without repeating.
Use the Shuffle button to randomize the order of tracks in the queue.
Volume Control
Open the Audio Settings screen by tapping the sound icon under the playback controls to access the volume slider. You’ll also find buttons here for Google Cast and AirPlay so you can quickly switch playback to another device.
Google Cast (Chromecast)
For Google Cast users, the Cast icon appears at the bottom of the player. Tap it to choose a device and start streaming. Make sure your device and the Google Cast receiver are on the same Wi-Fi network. Note: not every audio format is compatible with Google Cast — some hi-res formats may need to be transcoded.
AirPlay
For AirPlay, look for the AirPlay button at the bottom of the player. Tap it and select a device for streaming. Flacbox supports AirPlay 2, so you can play to multiple HomePods, Apple TVs, or AirPlay-2-compatible speakers at the same time.
Audio Equalizer
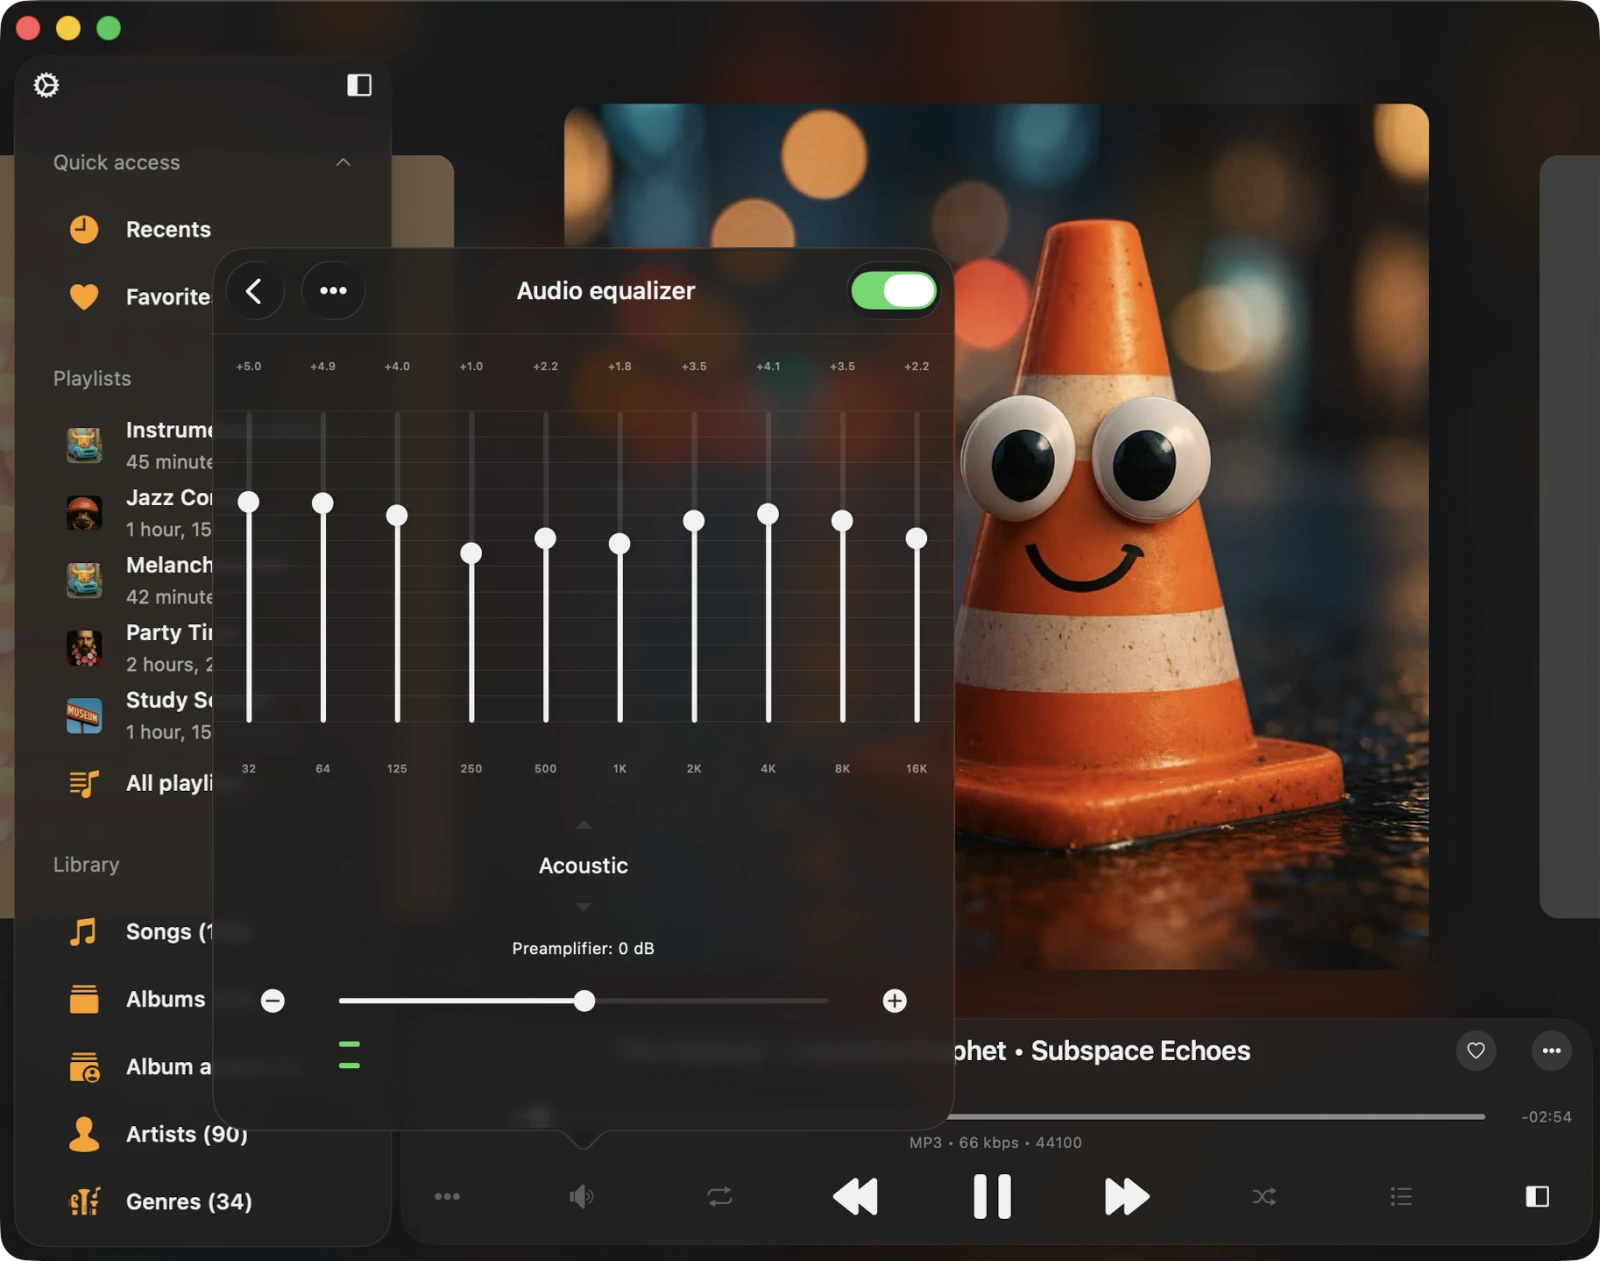
Flacbox includes a 10-band equalizer with iPod-style presets. Tap Equalizer on the volume view, then switch it on in the top-right corner. You can use presets like Acoustic and Bass Booster, or adjust each frequency band with sliders. Make your own presets, save them under any name, and boost overall volume with the preamplifier. We have more detailed instructions on how to use the equalizer here.
Player Mode Toolbar
For some player styles, there’s a dedicated toolbar at the top of the full-screen player. This toolbar houses three useful buttons:
- Search — quickly locate a specific track in your player queue.
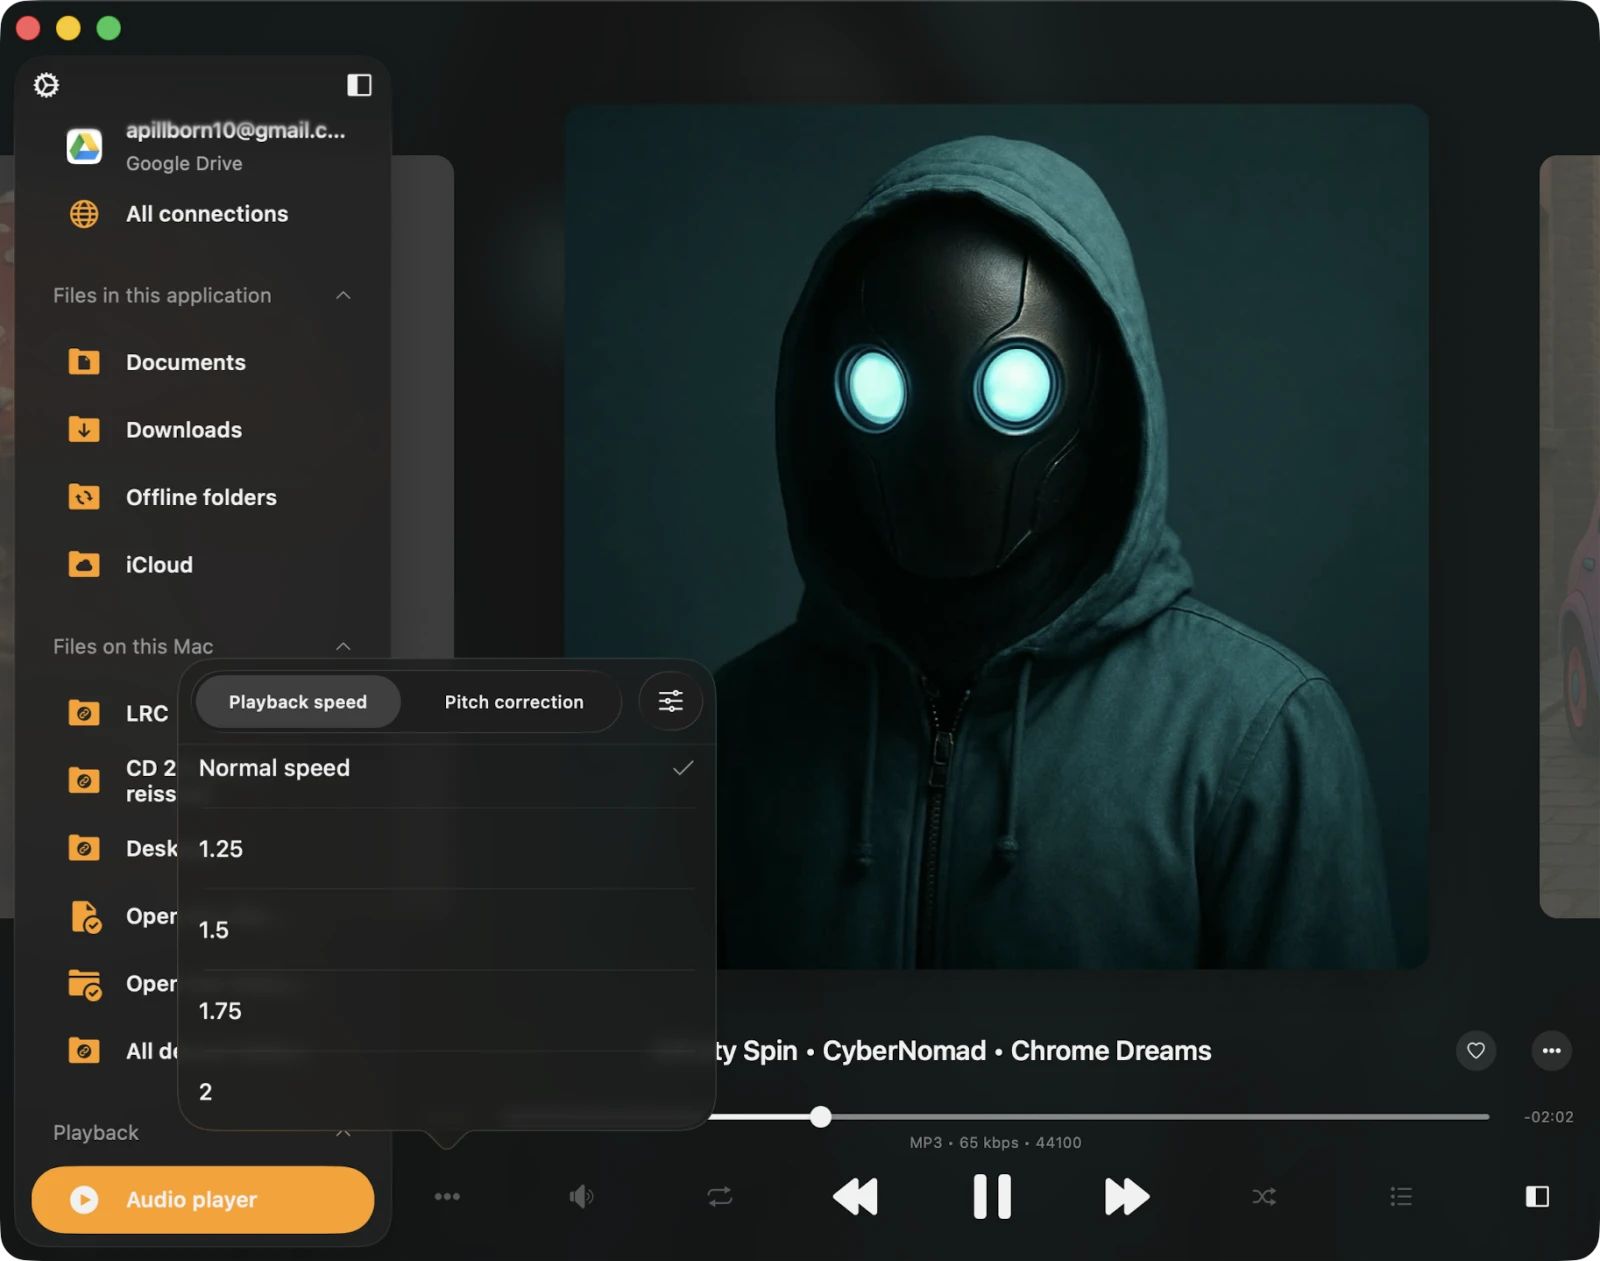
- Playback Speed Control — adjust playback speed anywhere from 0.02× to 3.00×. Perfect for audiobooks, podcasts, and lectures. Tap Normal to revert to default speed.
- Audio Bookmarks — create multiple bookmarks per track. We have full instructions on how to use bookmarks here.
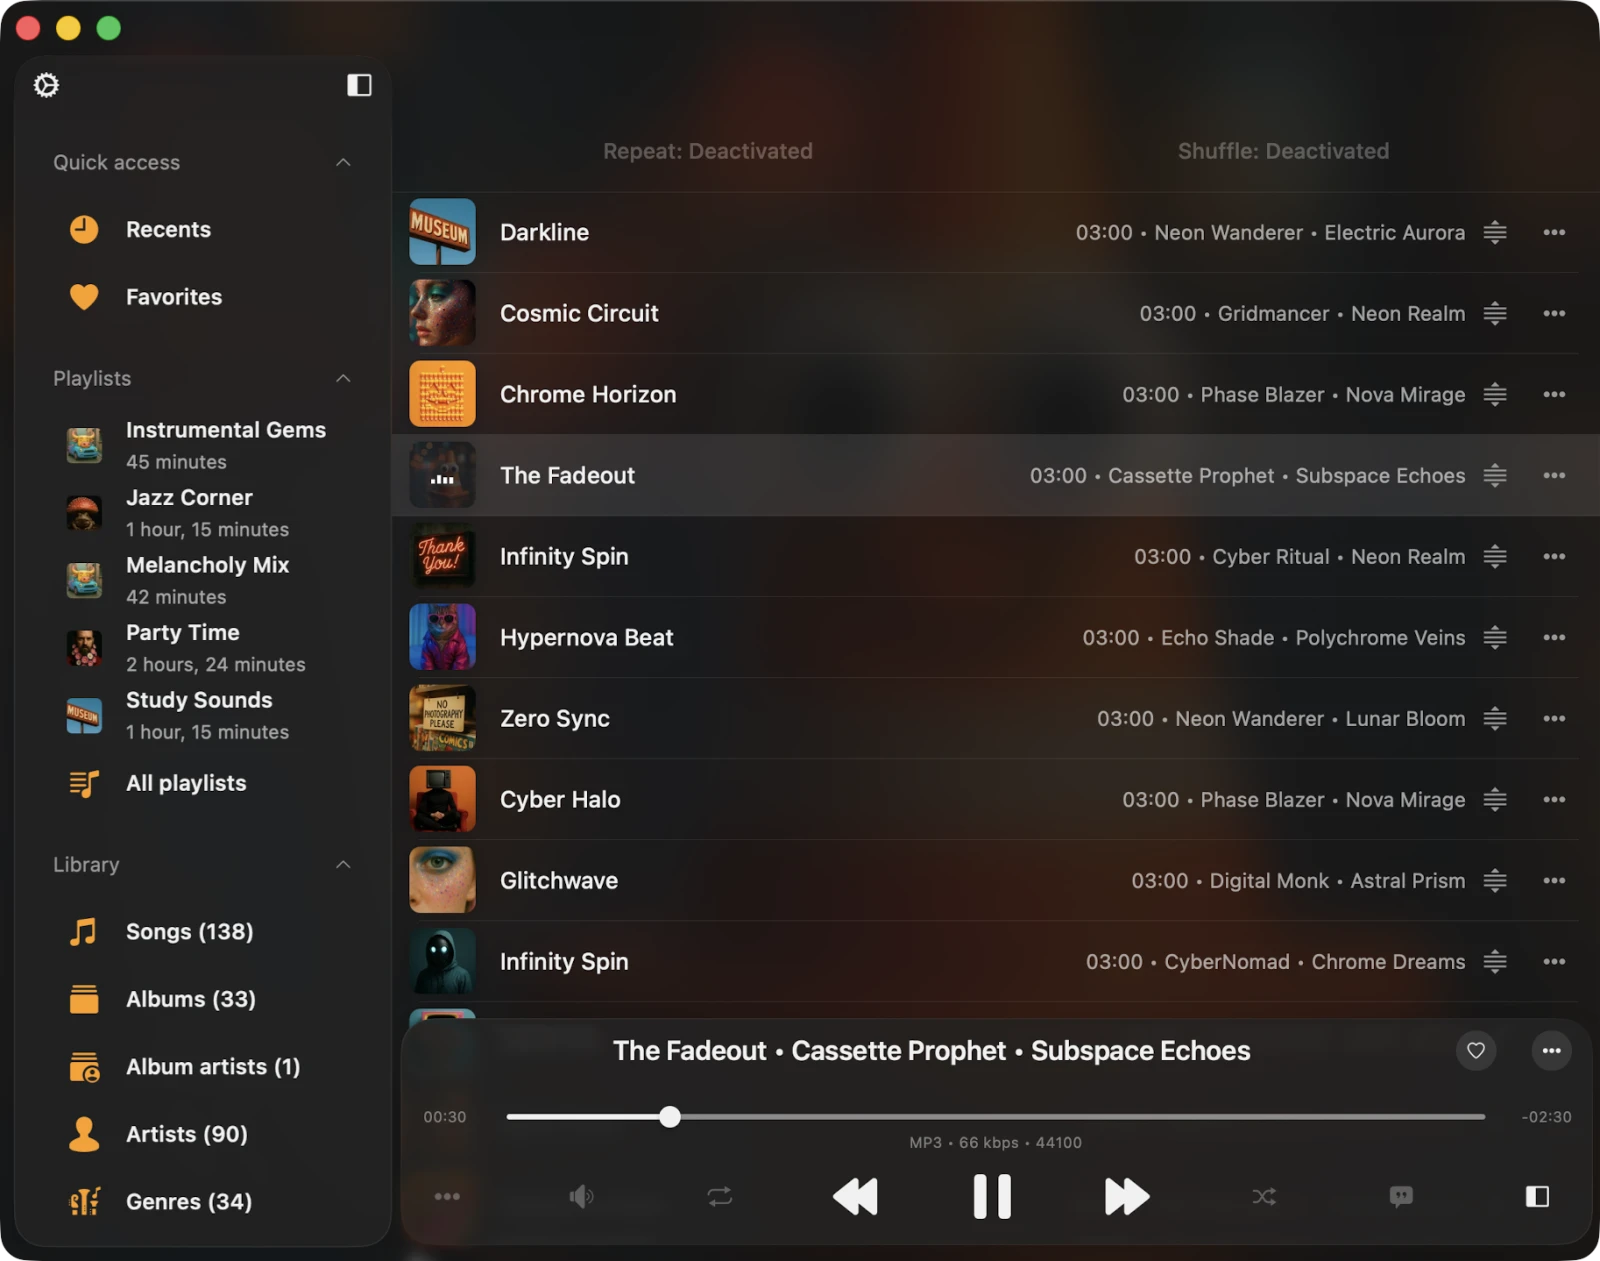
Player Queue
To see your player queue, tap the queue button on the right side of the current song. Each song in the queue has more actions — tap the three dots to view them. To reorder a song in the queue, use the reorder indicator near the title and drag it to a new position.
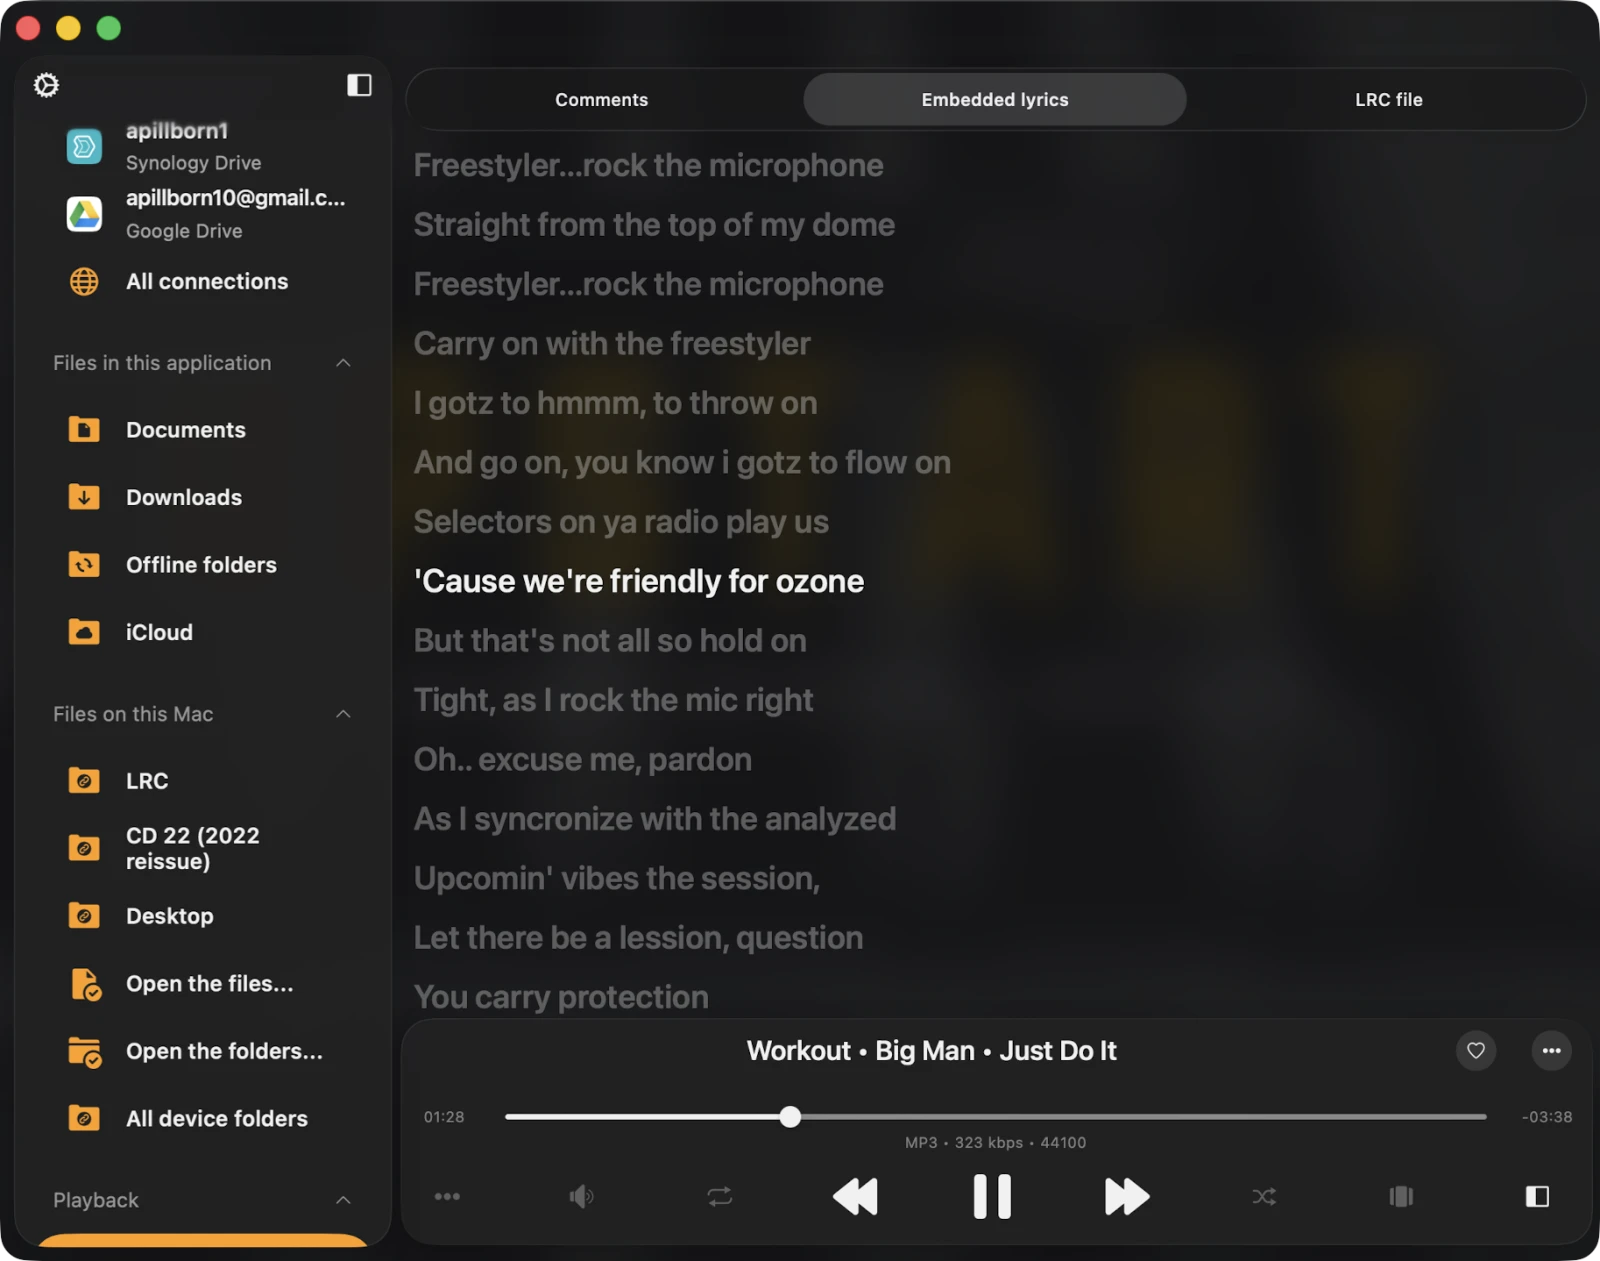
Comments / Lyrics
To view track comments and embedded lyrics, as well as LRC files, follow these steps:
- Open Settings.
- Go to Audio Player.
- Select Personalization.
- Tap Buttons on the main screen.
- Enable Comments.
After this, tap the player queue button at the bottom of the screen several times to switch from the artwork / queue view to the comments view. On the Comments screen, scroll right to switch between Comments, Embedded Lyrics, and the LRC File. Full instructions are available here.
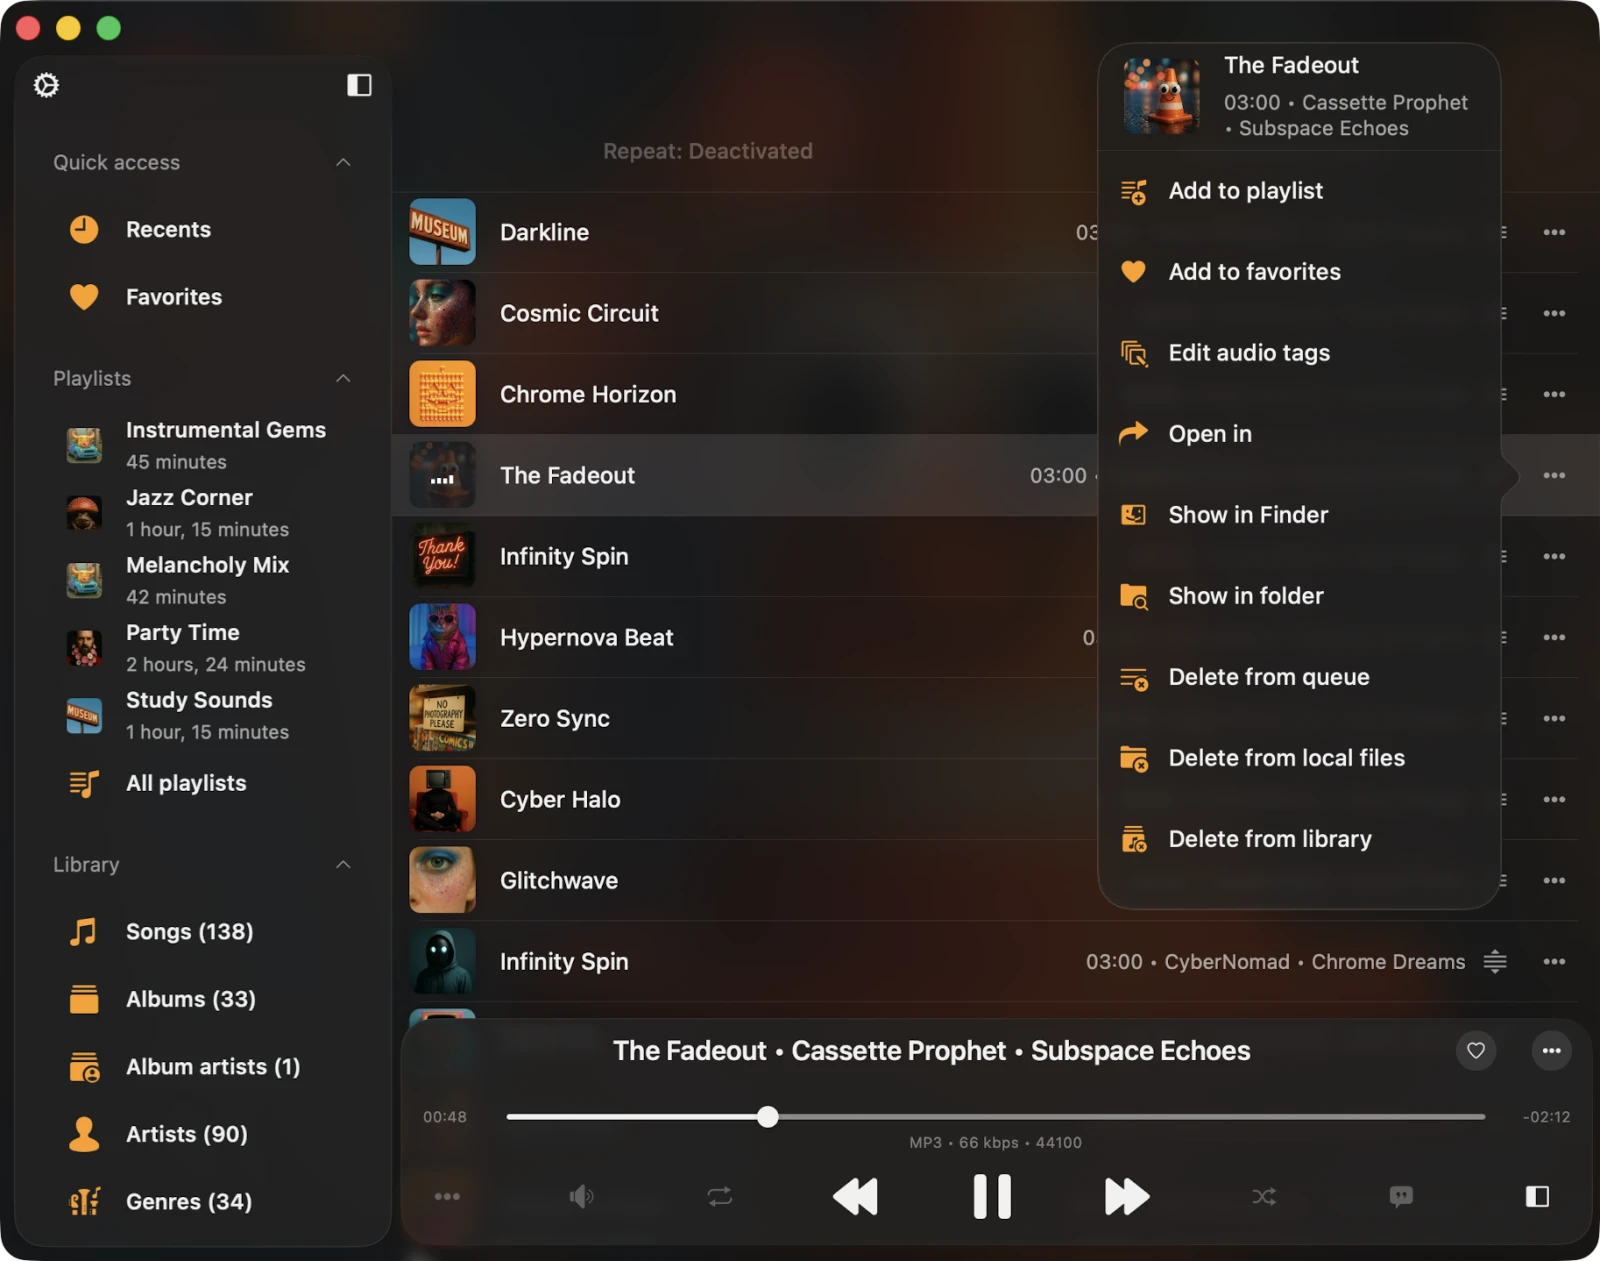
Options Menu
Each song in the audio player queue has a menu with more actions, accessed by tapping the three-dots button near the song title.
- Play Next — adds the song to the top of the player queue.
- Add to Playlist — includes the song in a playlist, with the option to create a new one.
- Add to Favorites — marks the song as a favorite for quick access.
- Download — saves the song to local files, appearing in the Local Files tab and the Offline Music section.
- Edit Audio Tags — opens the built-in audio tags editor to fix missing metadata, modifying the song on your storage.
- Show in Folder — reveals the folder where the audio file is stored.
- Show in Finder — for files imported from your Mac, this reveals the folder where the audio file is located on your Mac.
- Open In — exports the audio file to another app.
- Delete from Queue — removes the selected song from the audio player queue.
- Delete from Cloud Service — deletes the song from both the music library and cloud storage. This action is irreversible.
- Delete from Local Files — deletes the song from both the music library and local storage. This action is irreversible.
- Delete from Music Library — deletes the song from your music library, while keeping the file in storage.
The same options are available for the now-playing item in the audio player queue, which you can access by tapping the More Actions icon near the track title.
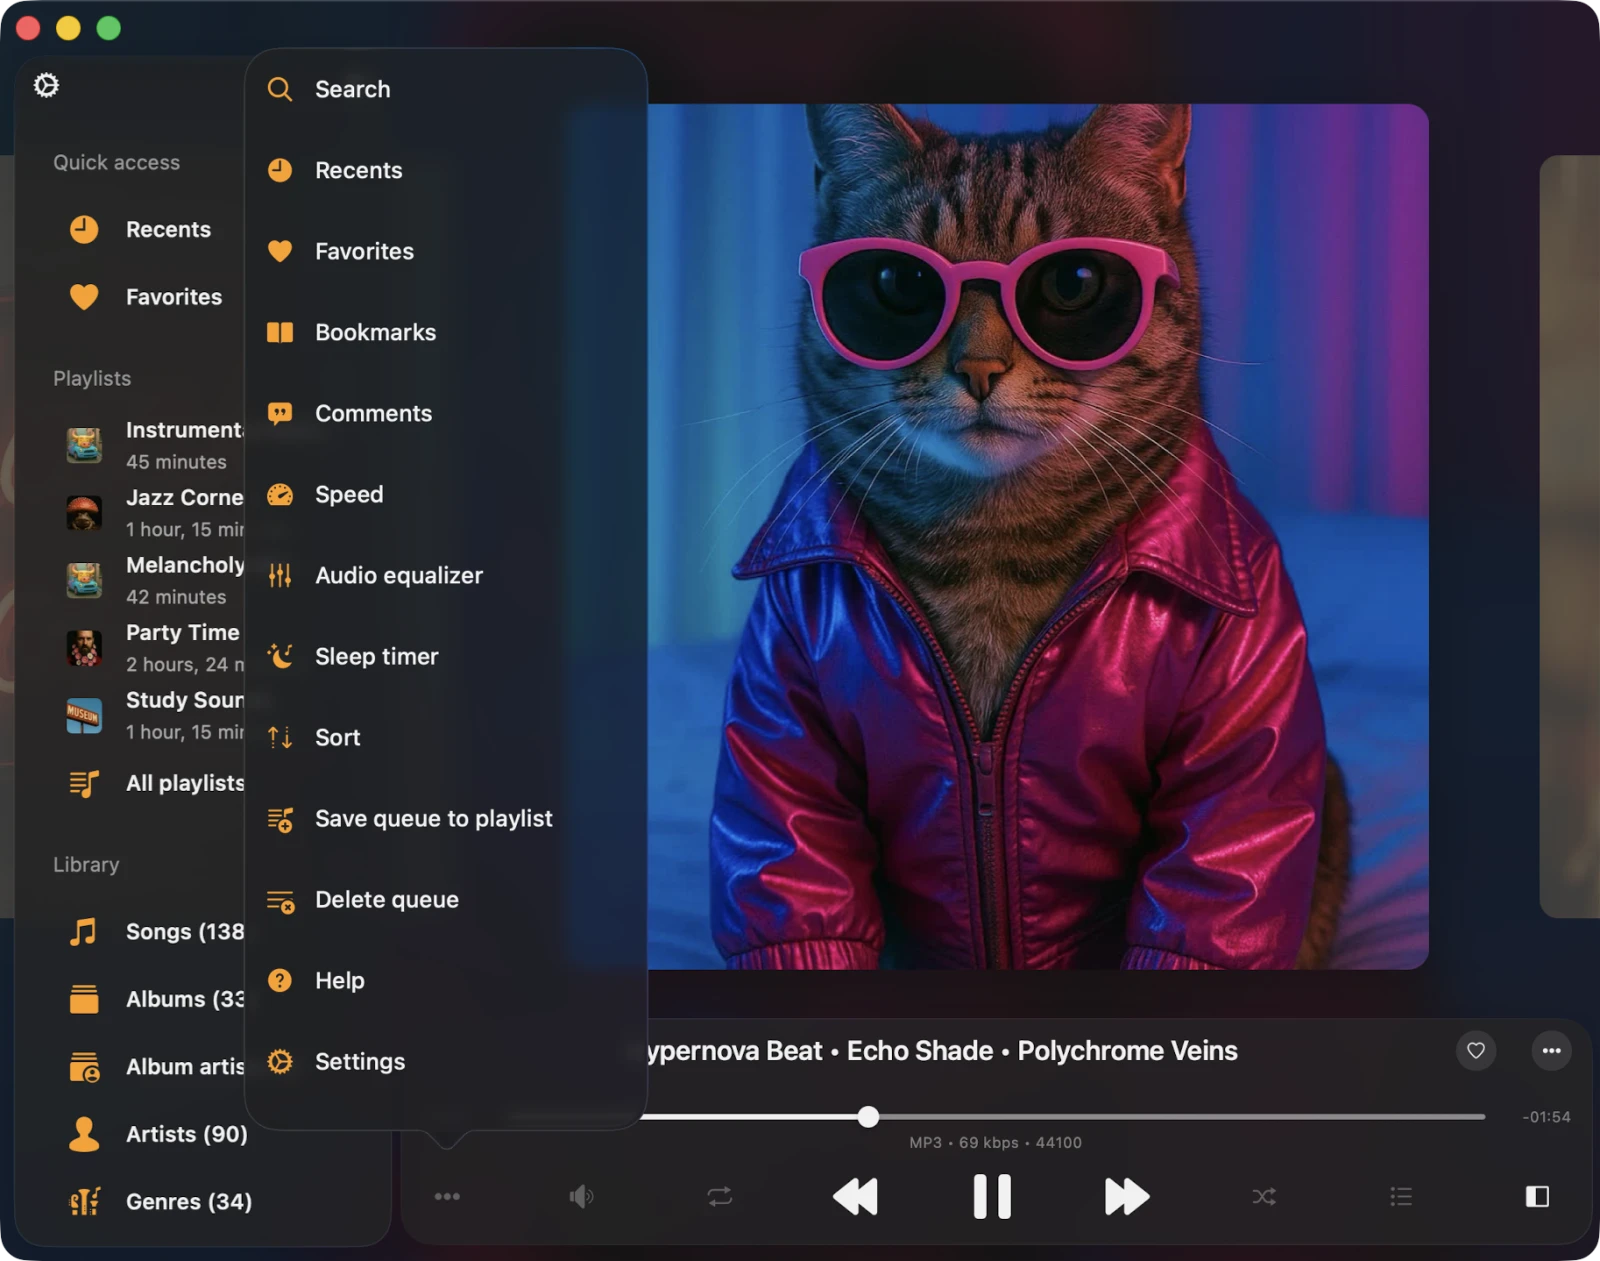
Additional Player Actions
Tap the More Actions “…” button on the left side of the currently playing song title to see additional actions.
- Continue Playback — resume from where you left off, including queue and media position. Particularly useful for audiobooks. Activated in the app settings.
- Search — quickly find a specific track in your audio player queue.
- Bookmarks — view your list of created audio bookmarks.
- Comments — view track comments and embedded lyrics, as well as LRC files. Full instructions here.
- Speed — adjust the playback speed to your liking.
- Recents — access a list of recently played songs.
- Favorites — see your collection of favorited songs.
- Audio Equalizer — activate the audio equalizer.
- Sleep Timer — set a timer to stop playback after a specified interval. Great for those moments when you want to doze off to your tunes.
- Save Queue to Playlist — save the current audio player queue as a new playlist.
- Delete Queue — clear your player queue and halt playback.
- Settings — access audio player settings.
- Help — find assistance and guidance.
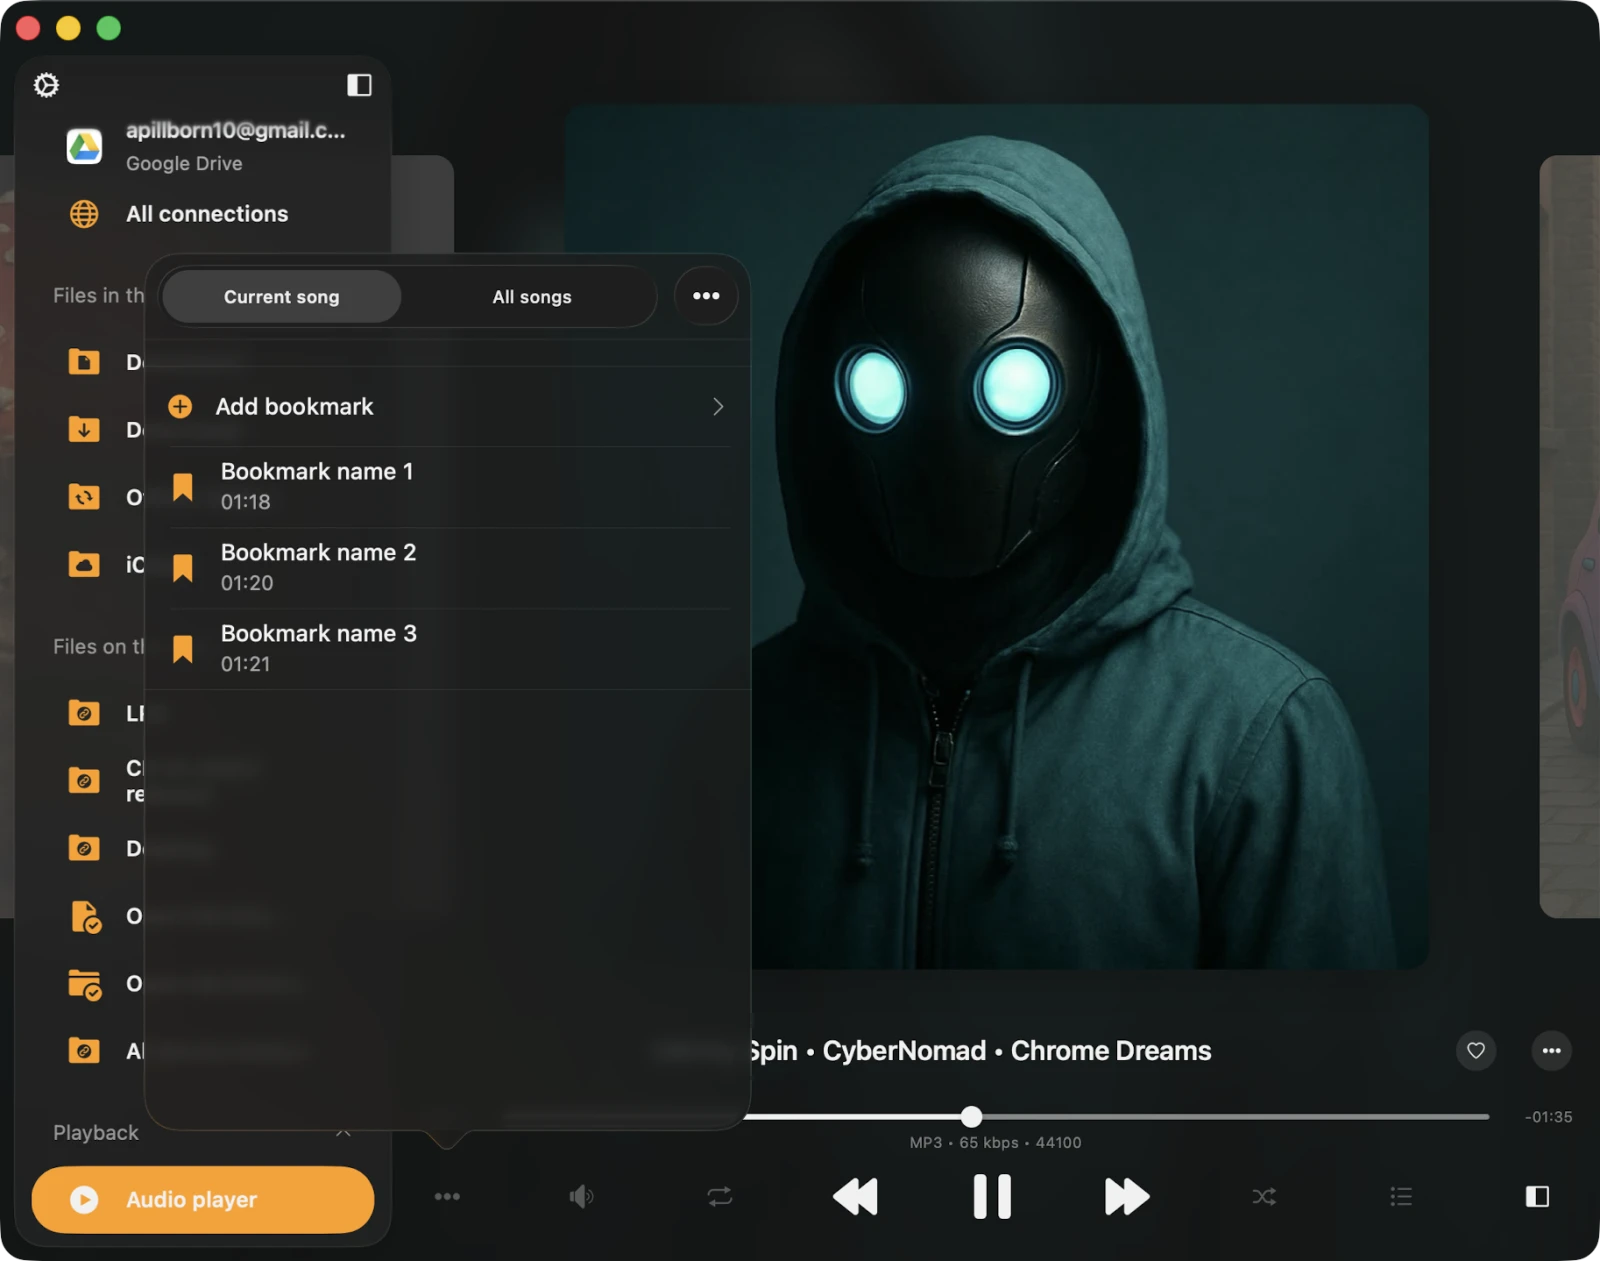
Audio Bookmarks
This feature lets you create multiple bookmarks for tracks in your music library — perfect for audiobooks, lectures, long DJ mixes, or marking the chorus of a favorite track.
To create a new bookmark:
- Begin playing the desired song.
- Open the player screen.
- Tap the Bookmarks button on the player mode toolbar.
- Select Add Bookmark.
- Choose the bookmark time and tap Done in the top-right corner.
Editing bookmarks for the current track is easy: tap Edit in the top-right corner to enter edit mode. In this mode, you can rearrange bookmarks, delete them, adjust bookmark time, and change bookmark titles. More detailed instructions on audio bookmarks are available here.
Recents and Favorites
On the player screen, tap the three dots to access Recents and Favorites. In both sections, you can search for songs, play all, shuffle all, export the list, and clear the list. We have detailed instructions on how to export song lists here.
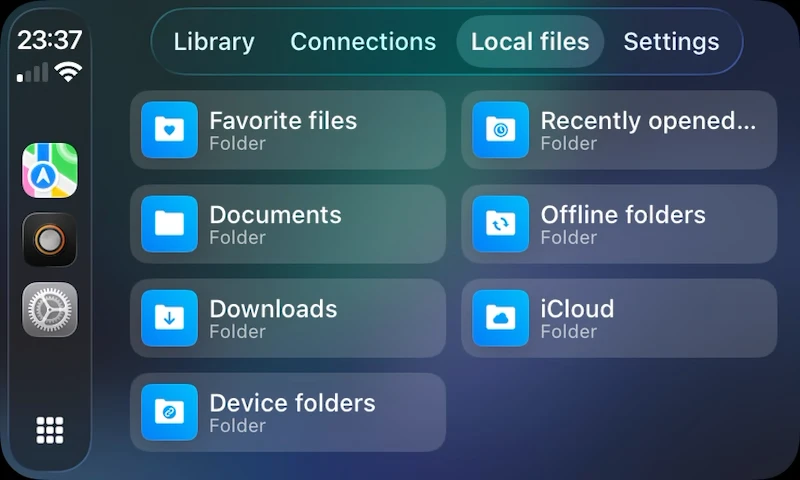
Apple CarPlay (iPhone)
Connect your iPhone to your car via USB or wireless Apple CarPlay and Flacbox appears on your CarPlay home screen, ready to play music safely while driving. The CarPlay interface includes dedicated tabs for Library, Connections, Local Files, and Settings, with playback controls, shuffle, repeat, queue management, and the audio equalizer all available without picking up your phone. Configure the CarPlay experience further in Settings → CarPlay — sort options, pagination, menu icons gradient color, whether images are loaded, and an option to pause playback automatically when CarPlay connects.
Home Screen Widgets (iPhone & iPad)
Flacbox supports iOS Home Screen and Lock Screen widgets so you can see and control playback at a glance. Make sure Widgets are enabled in Settings → Widgets → Enable Widgets, then long-press your Home Screen or Lock Screen, tap +, search Flacbox, and add a widget. The widget refreshes during playback to show the now-playing track artwork, title, and artist.
Mini Player Window (Mac Exclusive)
Mac users can use a compact, always-on-top mini player. Move your cursor to the bottom-right edge of the Flacbox window, resize it down to its smallest size, and tap the collapse button. Keep it on top of every other window by selecting Window → Show Window Always On Top in the menu bar — perfect for keeping music controls visible while you work in another app.
Keyboard Shortcuts (Mac Exclusive)
For Mac users, a system playback menu is available in the status bar with keyboard shortcuts. For example, hit the spacebar to Play / Pause. Shortcuts for Stop, Next Song, Previous Song, Skip Time, Repeat, Shuffle, and Playback Speed are also available.
Audio Player Settings
To access settings, tap the More button on the player screen and choose Settings. Here, you’ll find several sections, listed below.
General
These settings cover the fundamental aspects of the audio player, including the playback queue, audio output, and saving the player’s state.
- Repeat Mode — choose how the audio player behaves when a track finishes:
- Repeat All — replays all the tracks in your queue.
- Repeat One — repeats only the current track.
- Repeat Stop — pauses playback when the current track ends.
- Repeat None — allows your queue to play through without repeating.
- Shuffle Mode — randomize the order of tracks in your queue. You can turn it Shuffle Off or Shuffle On.
- Audio Codec — choose the audio engine used for playback:
- System Codec + FFmpeg — prioritizes the system’s audio codec where possible, enhancing compatibility and stability. Pitch correction and audio output sample rate adjustments may be limited in this mode.
- FFmpeg — forces the FFmpeg codec for all audio files, allowing you to tweak pitch correction and the audio output sample rate.
- Audio Output Sample Rate — adjust the audio output sample rate to optimize sound quality, especially useful with an external DAC. Available values: 44.1 kHz, 48 kHz, 64 kHz, 88.2 kHz, and 96 kHz.
- Audio Output Number of Channels — for multichannel audio systems with an external DAC, specify the number of channels: Mono, Stereo, Center / Left / Right, Center / Left / Right / Surround, ITU BS.775-1, 5.1 Surround, and SDDS.
- Audio Output Preferred IO Buffer Duration — configure the input / output buffer duration for audio playback. A typical value for minimizing latency while playing high-resolution audio is around 5 milliseconds (0.005 seconds). The acceptable buffer size depends on your hardware and software environment, so test different durations on your target device and pick the one that best balances low latency and glitch-free playback.
- Audio Output Mode (iOS only) — configure mixed audio output mode so audio from Flacbox blends with other applications. Detailed instructions are here.
- Save Playback Position — ensures the application saves and restores the playback position for songs in your music library.
- Save Audio Player State — preserves your audio player’s state before you close the app. To continue playback, tap Continue Playback at the top of any folder, album, artist, or genre when you reopen the app. You can also restore playback for individual files by tapping the specific track.
Once you’ve enabled both Save Playback Position and Save Audio Player State, open any folder, album, artist, or genre and you’ll see a Continue Playback button at the top of the screen along with the last saved track and position. Tap it to resume right where you left off.
Personalization
Personalization allows you to customize the look of the audio player screen, change the available controls on the main screen, lock screen, and status bar, and configure skip-time controls.
- Audio Player Screen Style — configure the positioning of elements on the audio player screen.
- Album Covers Scrolling Style — configure the preferred scrolling style for album covers.
- Additional Elements — enable extra elements on the audio player screen. Audio Format Info shows the now-playing track’s audio info above the artwork; Audio Volume Slider shows the audio output slider below the playback controls.
- Main Screen Actions — configure which buttons should be visible on the main audio player screen by default: Repeat and Shuffle Mode, Next and Previous Song, Skip Time, Sleep Timer, Google Chromecast, AirPlay and Bluetooth, Audio Equalizer, Search, Bookmarks, Speed, Add Bookmark, Add to Favorites, Comments, and more.
- Playback Controls on the Lock Screen — choose which controls appear on the lock screen. Possible values: Skip Time, Add Bookmark, Add to Favorites.
- Skip Time Buttons — pick the time interval for the Skip Time buttons.
File Loading
During the file loading process, you can change the network type used to load songs. Available options: Wi-Fi, Wi-Fi & Cellular Data.
- Preloading Time — set the buffering time interval. Increase this if you have a poor network connection.
- Use Direct URL — when enabled, a direct URL is used to load the song if the server supports it. This can speed up song loading but may affect playback stability.
Audio Equalizer
Customize the audio equalizer settings. You can read more about configuring the audio equalizer here.
Playback Speed
Adjust the playback speed of the audio player from 0.02× to 3.00×. Tap the configuration icon in the top-right corner to switch to precise mode for finer adjustments.
Pitch Correction
Change pitch correction settings using the predefined values. You can also switch between predefined values and precise mode by tapping the button in the top-right corner. Pitch correction is available in the FFmpeg codec path, with a range from -1000 to +1000.
Playback Cache
Songs in the audio player queue are automatically downloaded to ensure smooth playback. If you manually download audio files, you can disable this option to avoid duplicates. You can also configure the audio player cache size here.
Sleep Timer
Activate a timer to automatically stop playback after a specified period — handy when you want to drift off to music. Tap the configuration icon in the top-right corner for precise mode with minute-by-minute granularity.
Accessibility
Flacbox is fully accessible with VoiceOver. Every component has a well-designed label and description. When VoiceOver is active, the app switches to Text Mode so only meaningful elements are surfaced — improving navigation speed and clarity. You can also activate Text Mode in Settings → Accessibility → Text Mode.
Adjusting Sliders with VoiceOver
- Select the slider — swipe left or right until VoiceOver announces it.
- Adjust the value — double-tap and hold the slider, then drag up or down to change the value quickly. VoiceOver announces the new value as you go.
Adjusting Track Position in a List with VoiceOver
- Tap the reorder indicator icon near the track title to give it focus.
- Double-tap the reorder indicator quickly. On the second tap, do not release your finger — hold it until you hear a sound indicating the cell is ready to be moved.
- Move the cell to its new position.
Other components work as expected, using system-provided VoiceOver patterns.